Ever wanted to build a humanoid robot? ……… Well now you can!
INTRODUCING THE ROBOT NANO HAND
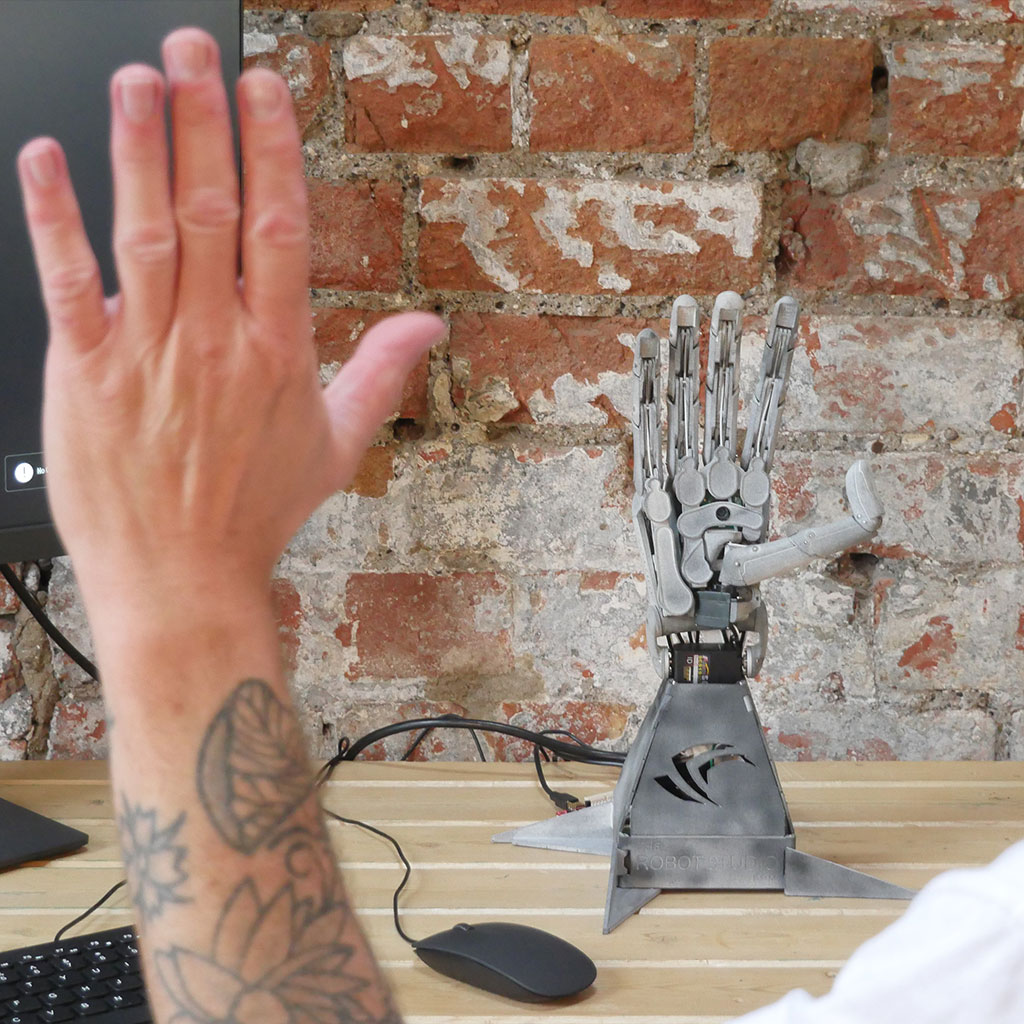
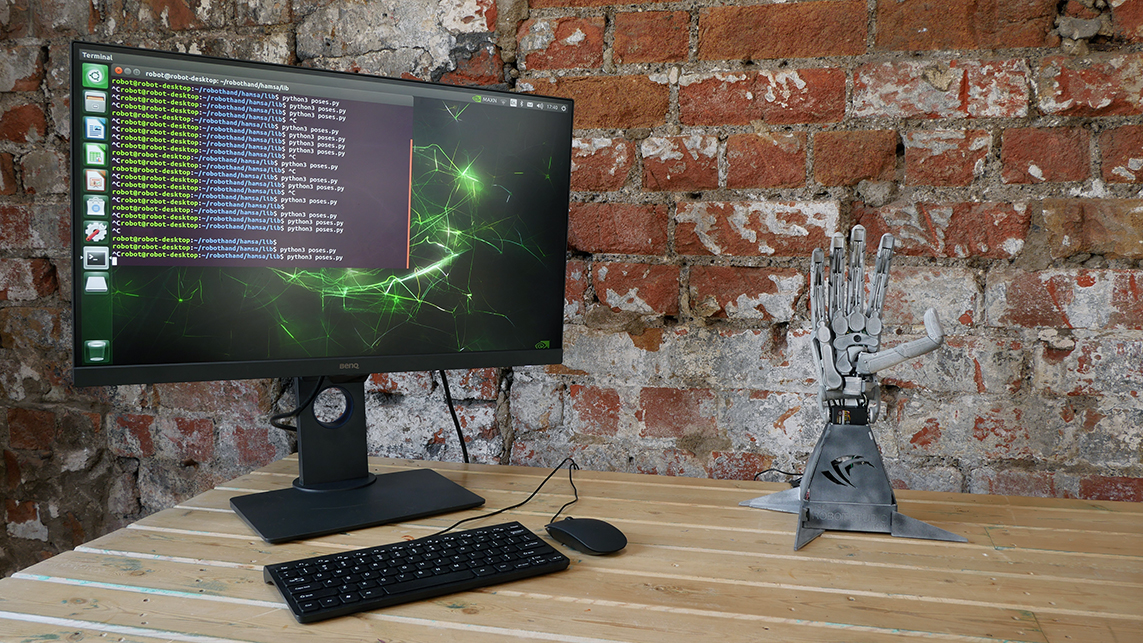
Get started with the robot nano hand – 3d print and build this state of the art humanoid hand with tendon driven fingers that flex and spread and an AI vision system worthy of any droid.
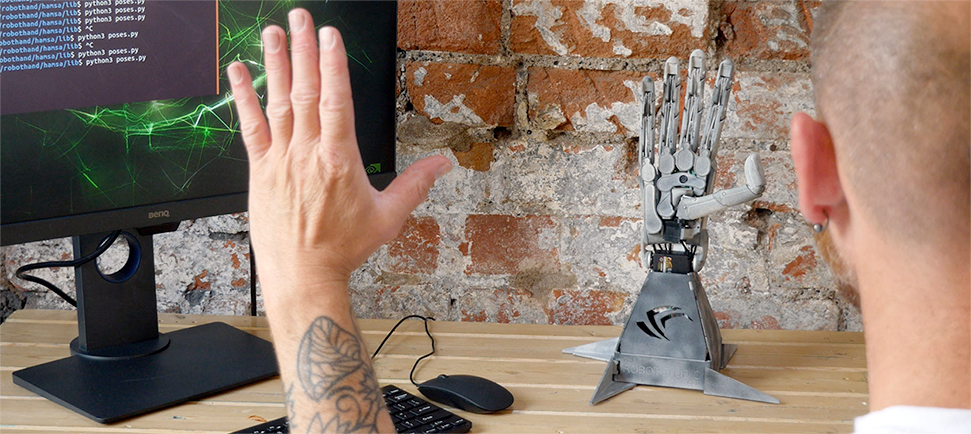
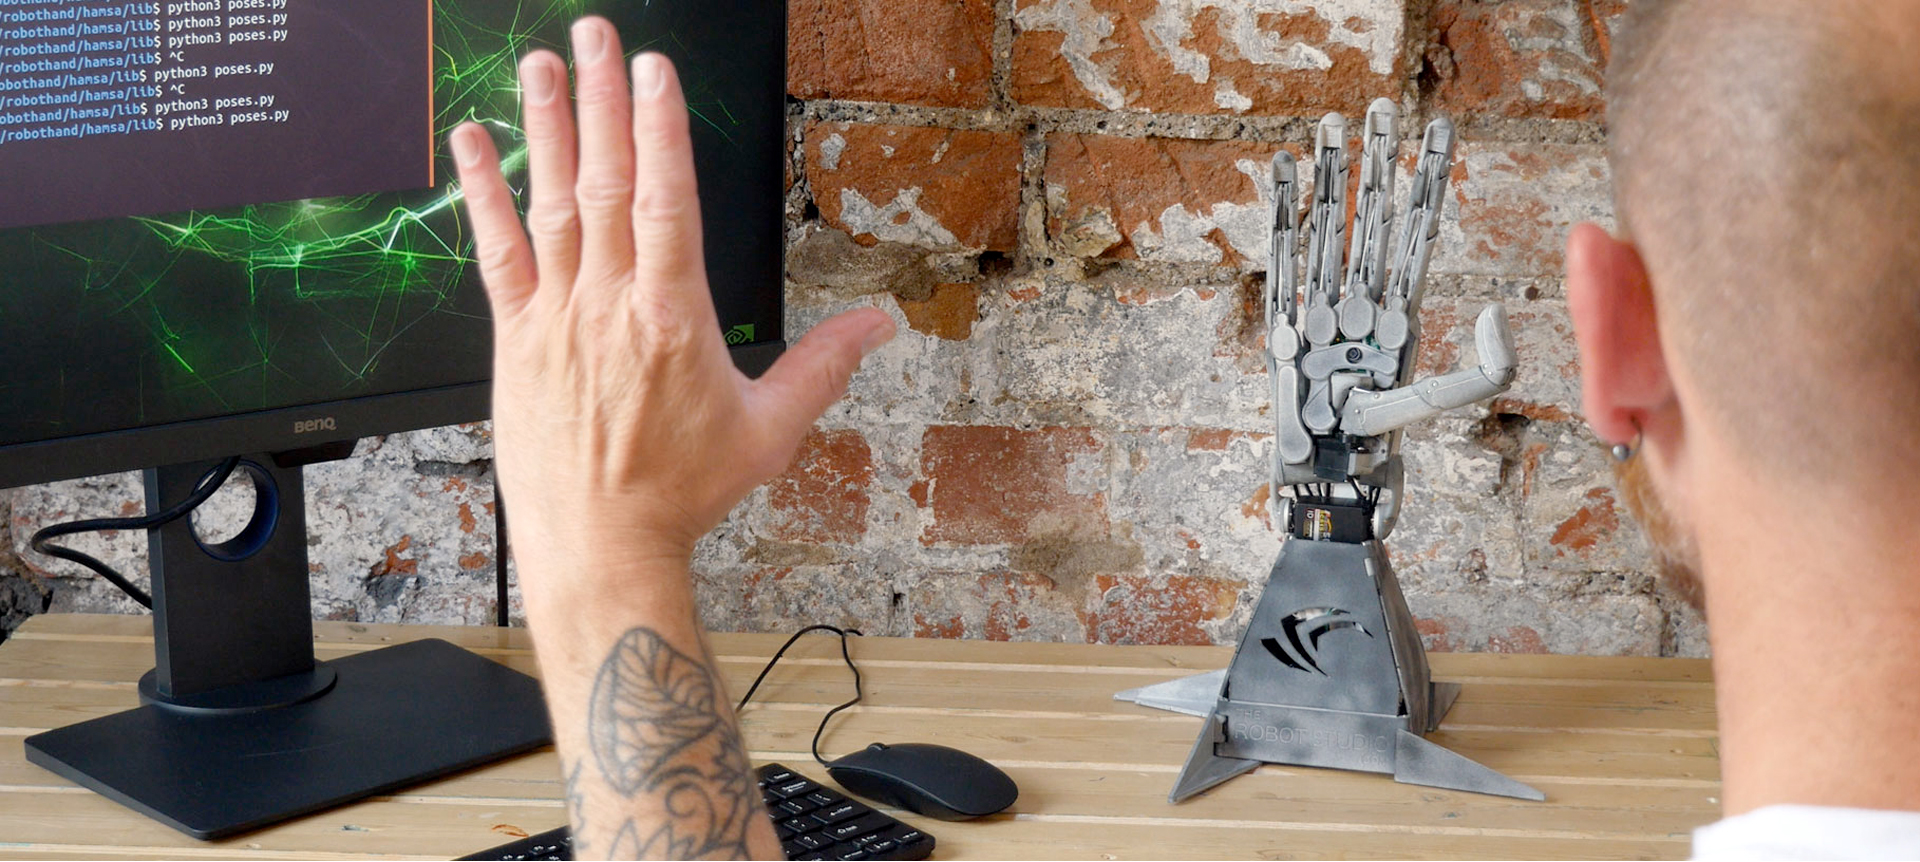
Once you have assembled your new handy desk top companion, program and run a hand gesture recognition demo, learn how to code and customize your own pose, all utilizing the inner palm camera.
The robot nano hand gives you the experience needed to understand the complexity of robotic design and the human form, create and build a humanoid robotic hand, and learn how to program and run a smart AI application.
Powered by the NVIDIA Jetson Nano Development kit, a powerful, easy-to-use, mini AI computer that lets you run multiple neural networks in parallel. It’s the perfect, portable solution for any project using image classification, object detection, segmentation, speech processing, and more.
The Robot Nano Hand is an open source project, designed and created by Rob Knight from therobotstudio, co-developed by Silicon Highway, and brought to life by Codethink.
Build a state-of-the-art humanoid Robotic Hand, bring it to life with smart AI applications
Silicon Highway is a European focused embedded NVIDIA distribution partner, with an online platform to help serve, reach, and create bigger business opportunities within future movements of the AI embedded marketplace.
Rob Knight from the Robot studio has been creating extraordinary robots based on the functional anatomy of the real human body for over two decades.
His work has featured on the front cover of Wallpaper, rise of the robots – channel 4, battle bots, robot wars, with an extensive collection of robots exhibited at the London science museum.
Codethink has been enabling solutions with NVIDIA technologies for the last decade. We provide software engineering and consultancy services to Electronics Companies, Technology Providers and Service Infrastructure Operators throughout Europe, Asia and the USA, working across various industries and verticals. We focus on developing and maintaining system-level software infrastructure, traditionally specialising in Linux, Embedded Systems and Open Source.
hand
The robot hand
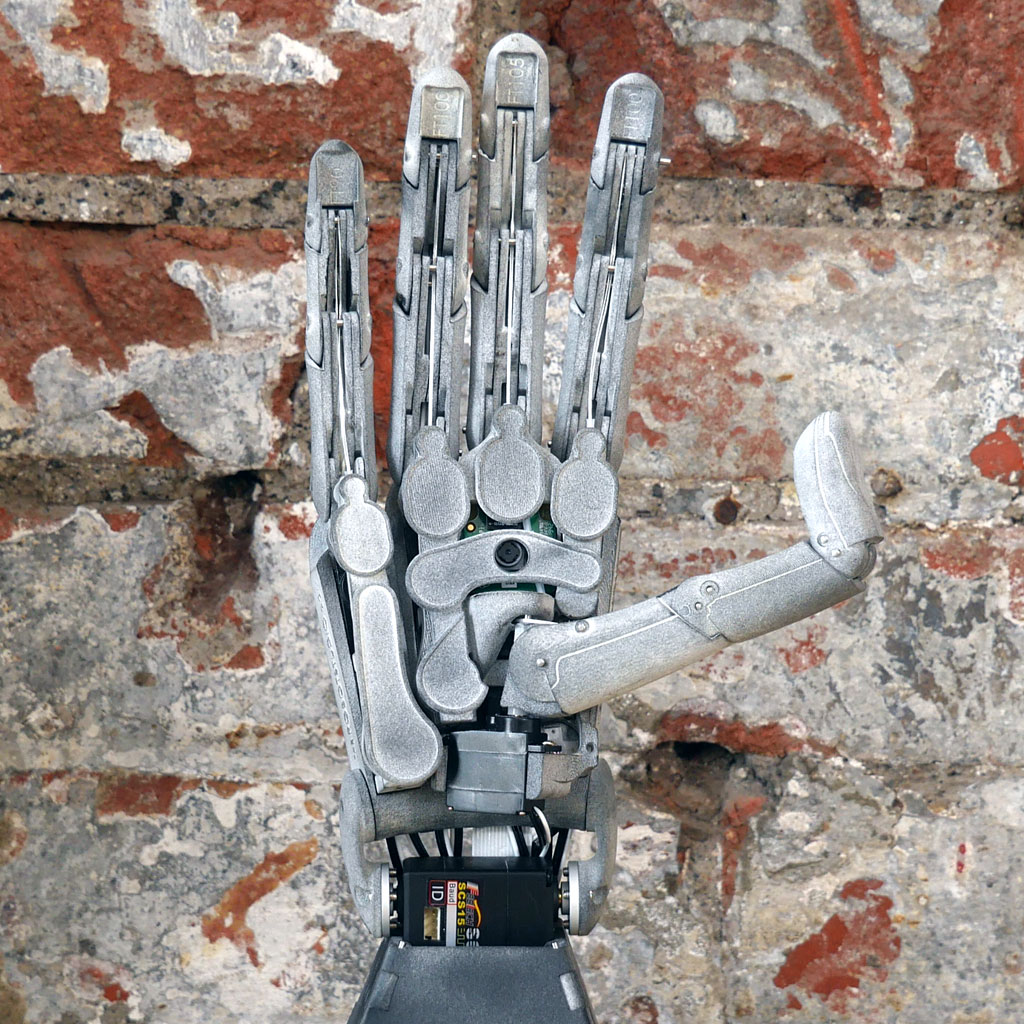
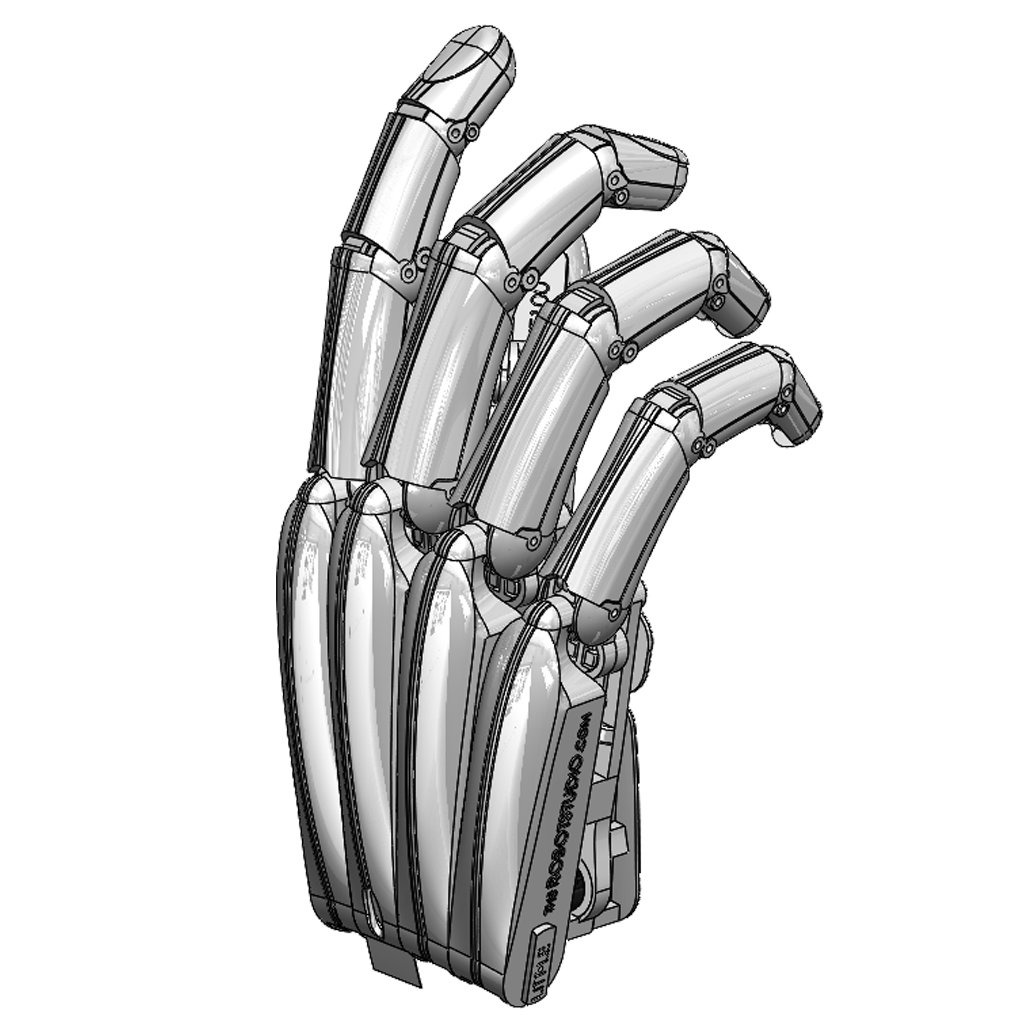
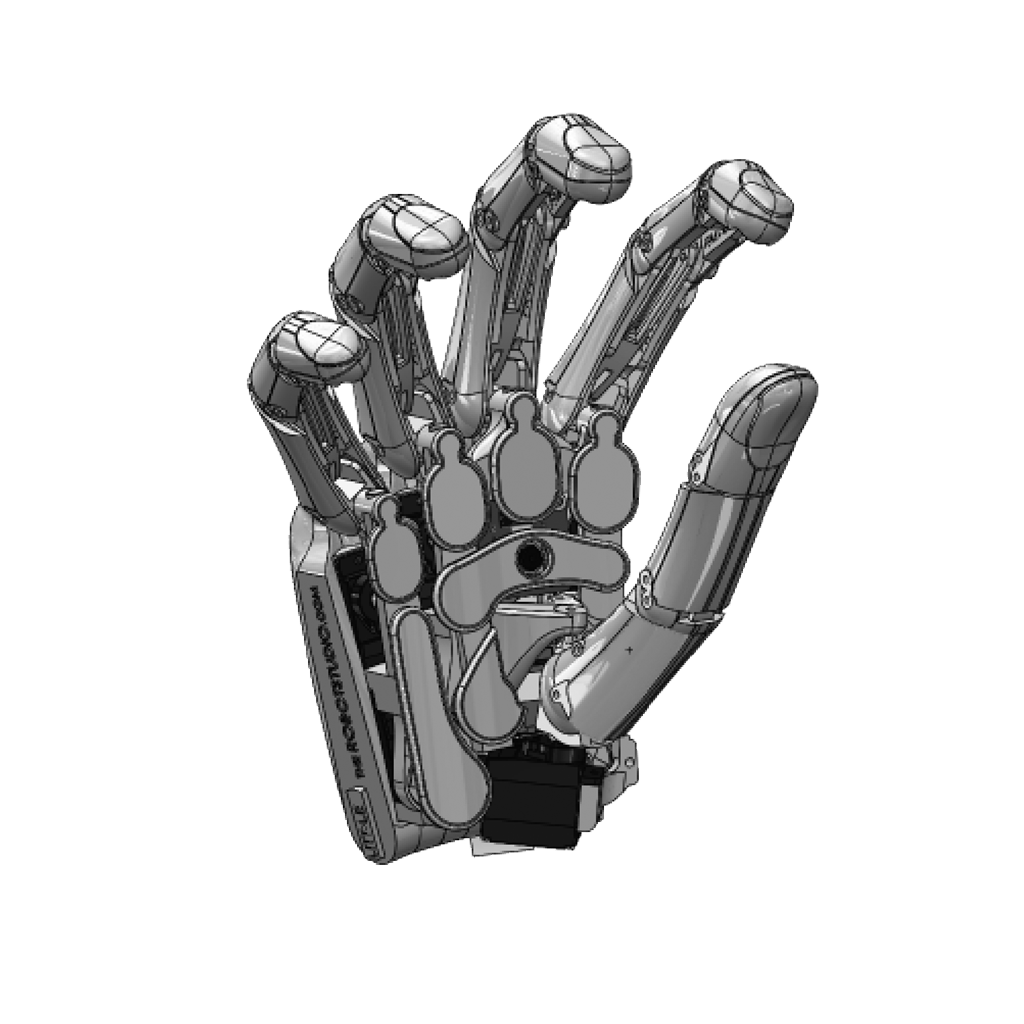
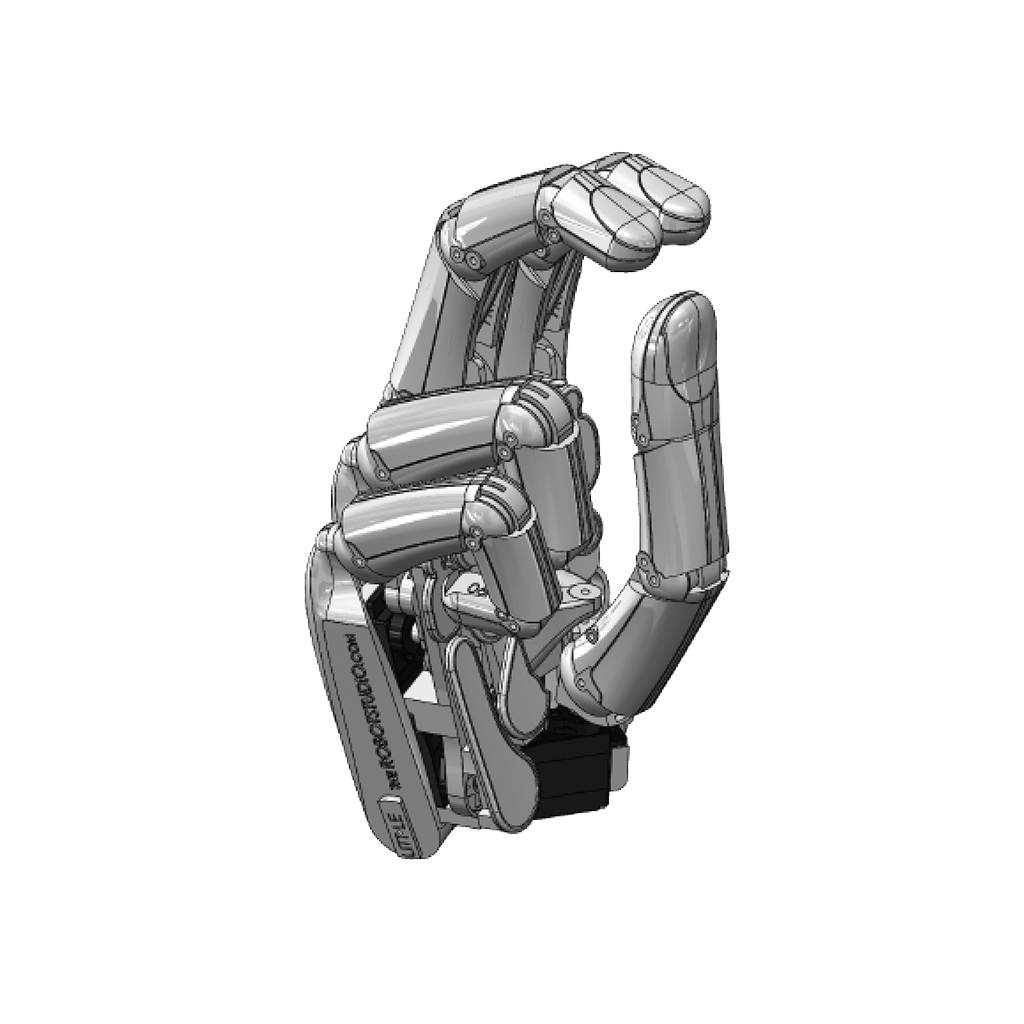
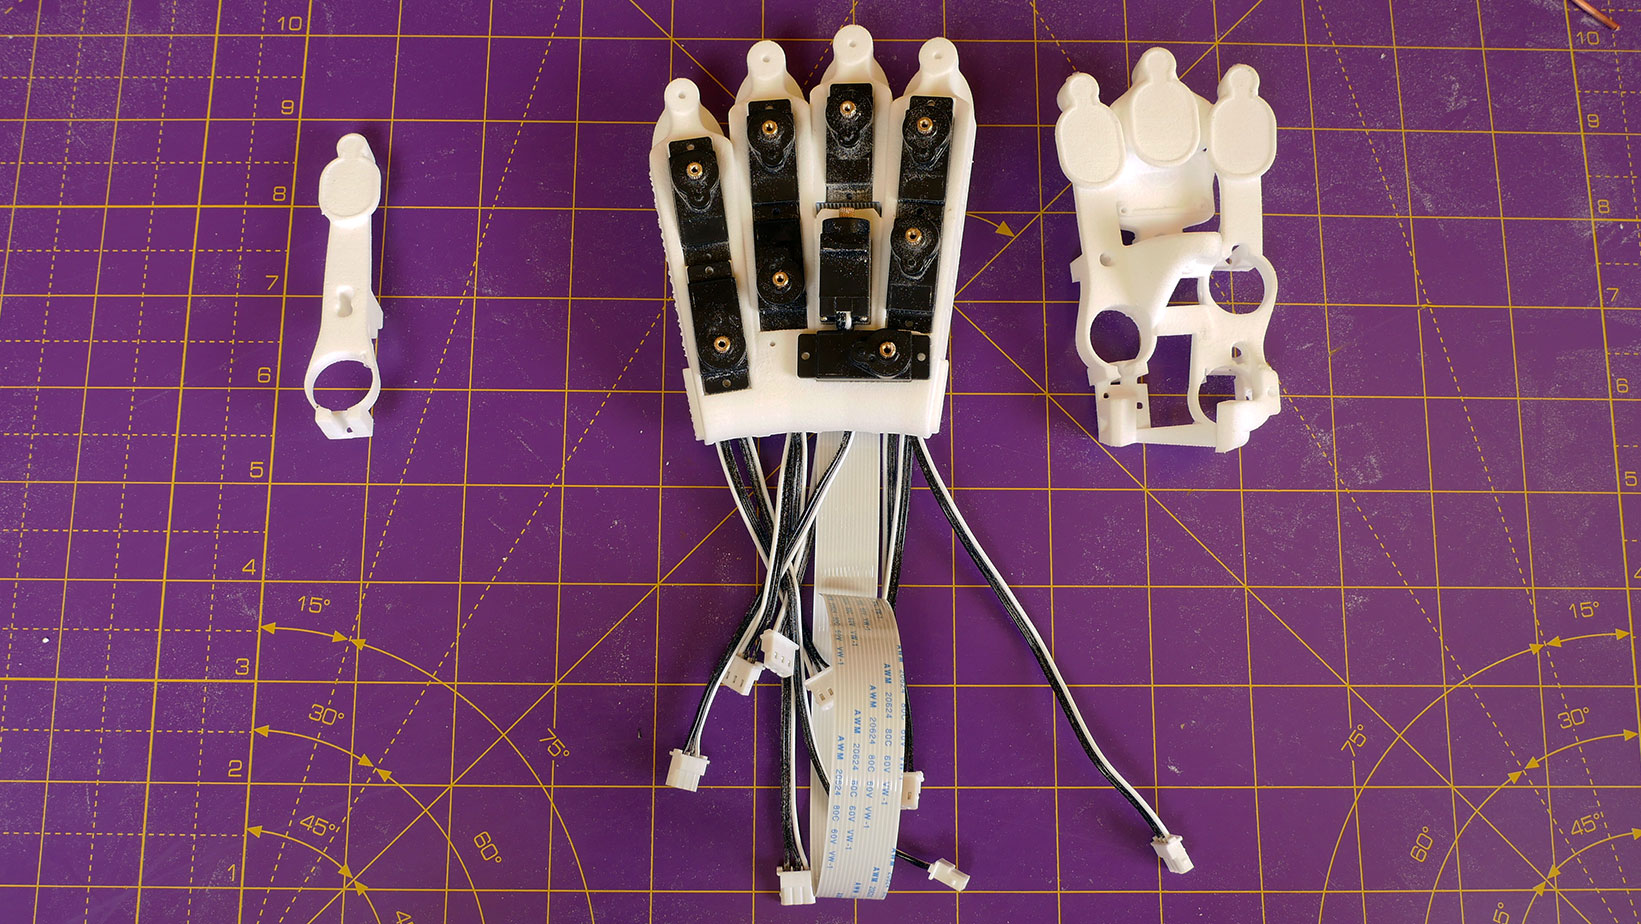
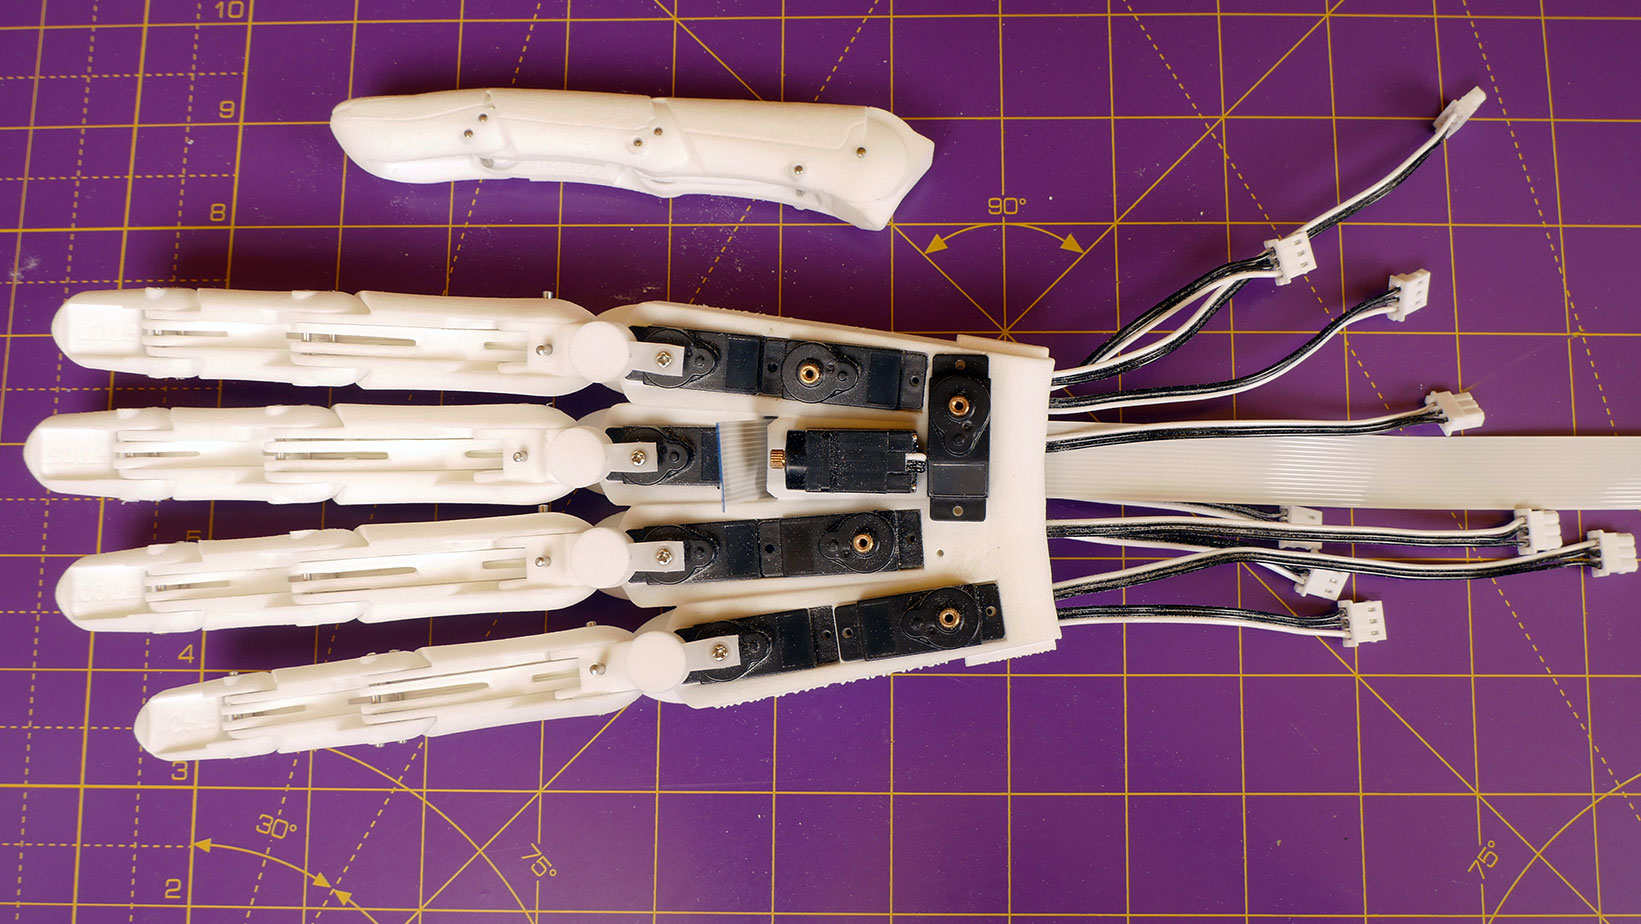
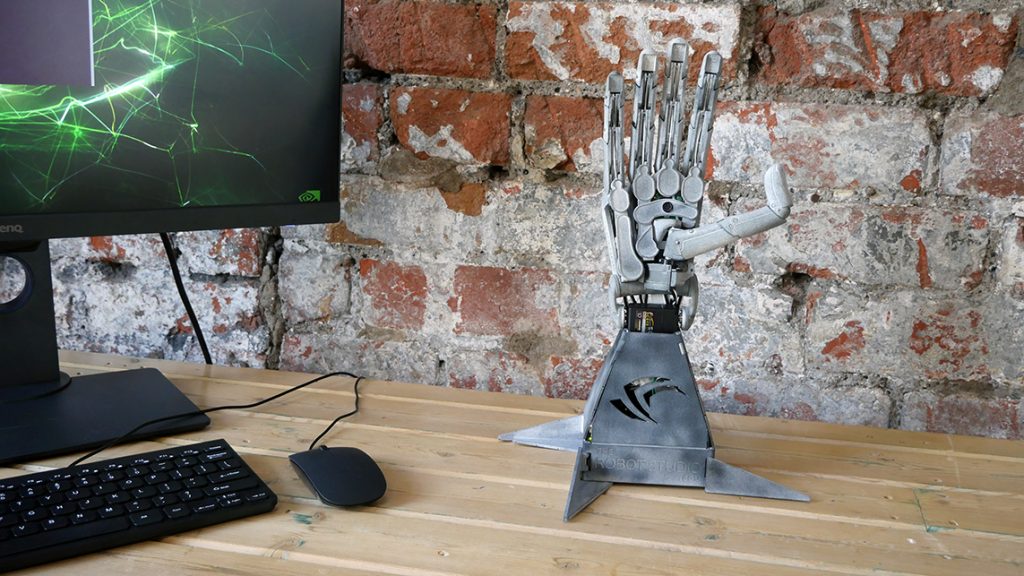
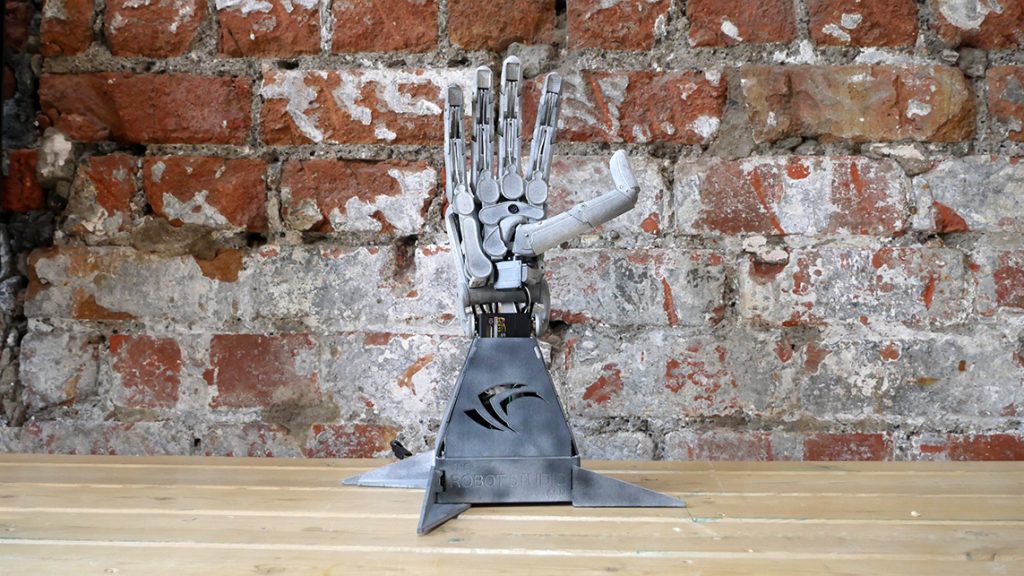
The Robot Nano Hand, is an open source, 3d printed, robot hand with 4 independent fingers and a partially-opposable thumb, similar in size to an adult human.
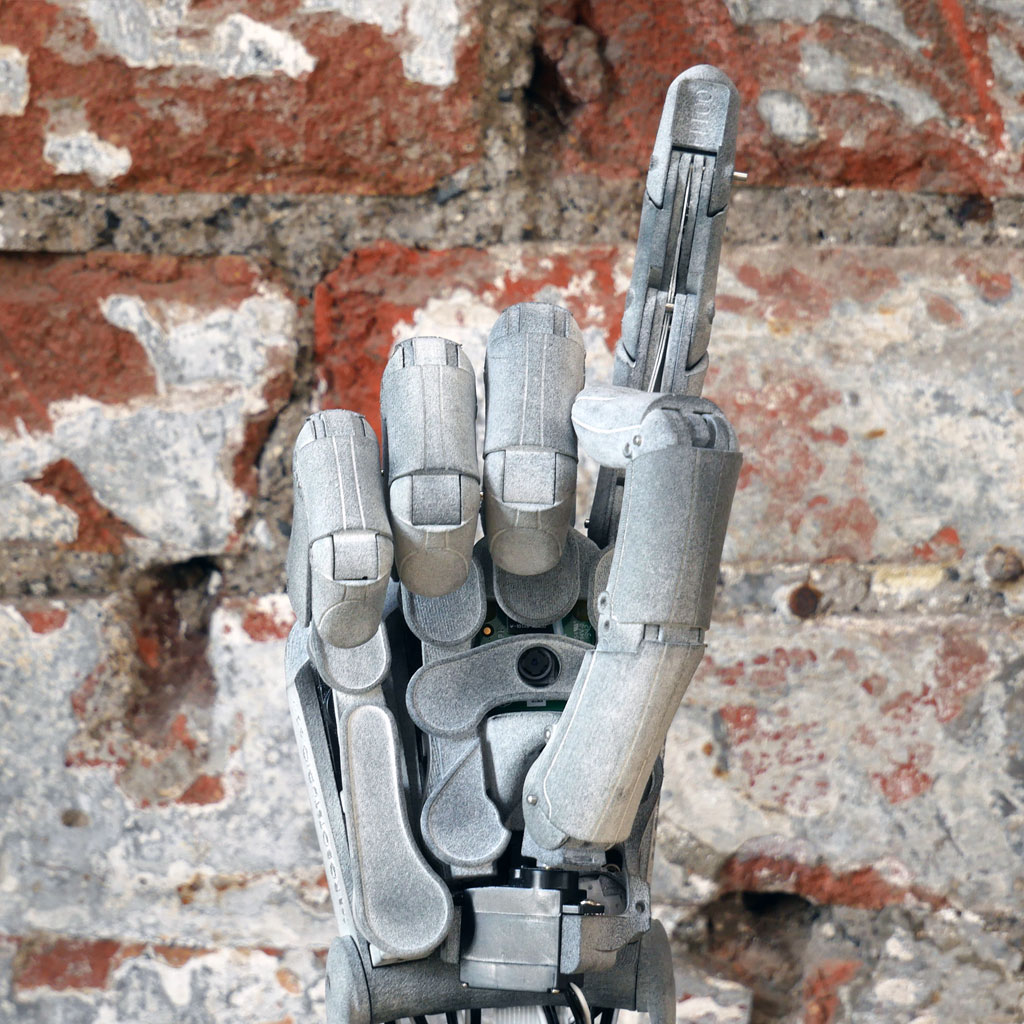
Each digit is independently closed by a tendon and can also rotate from side to side at the knuckle. This results in the minimum number of servos for a strong grip with individual finger flexion and spread.
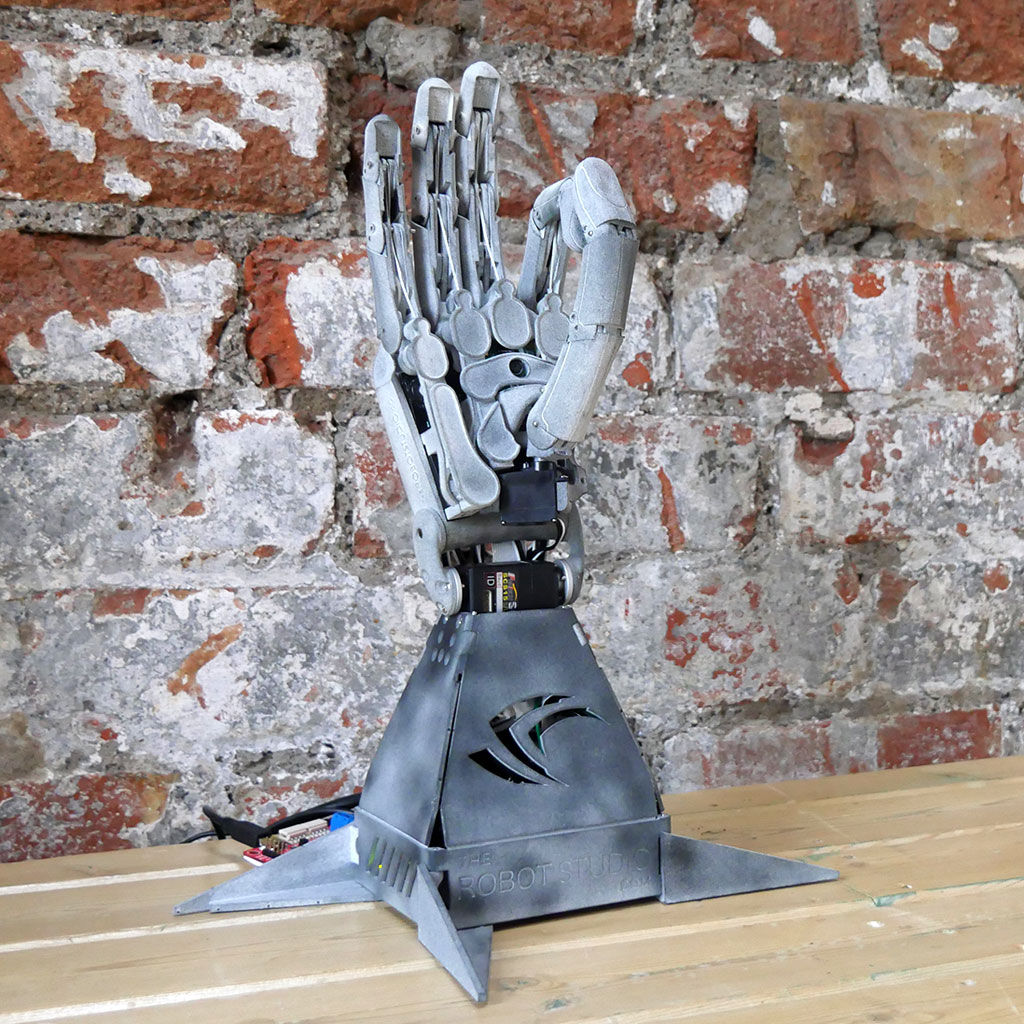
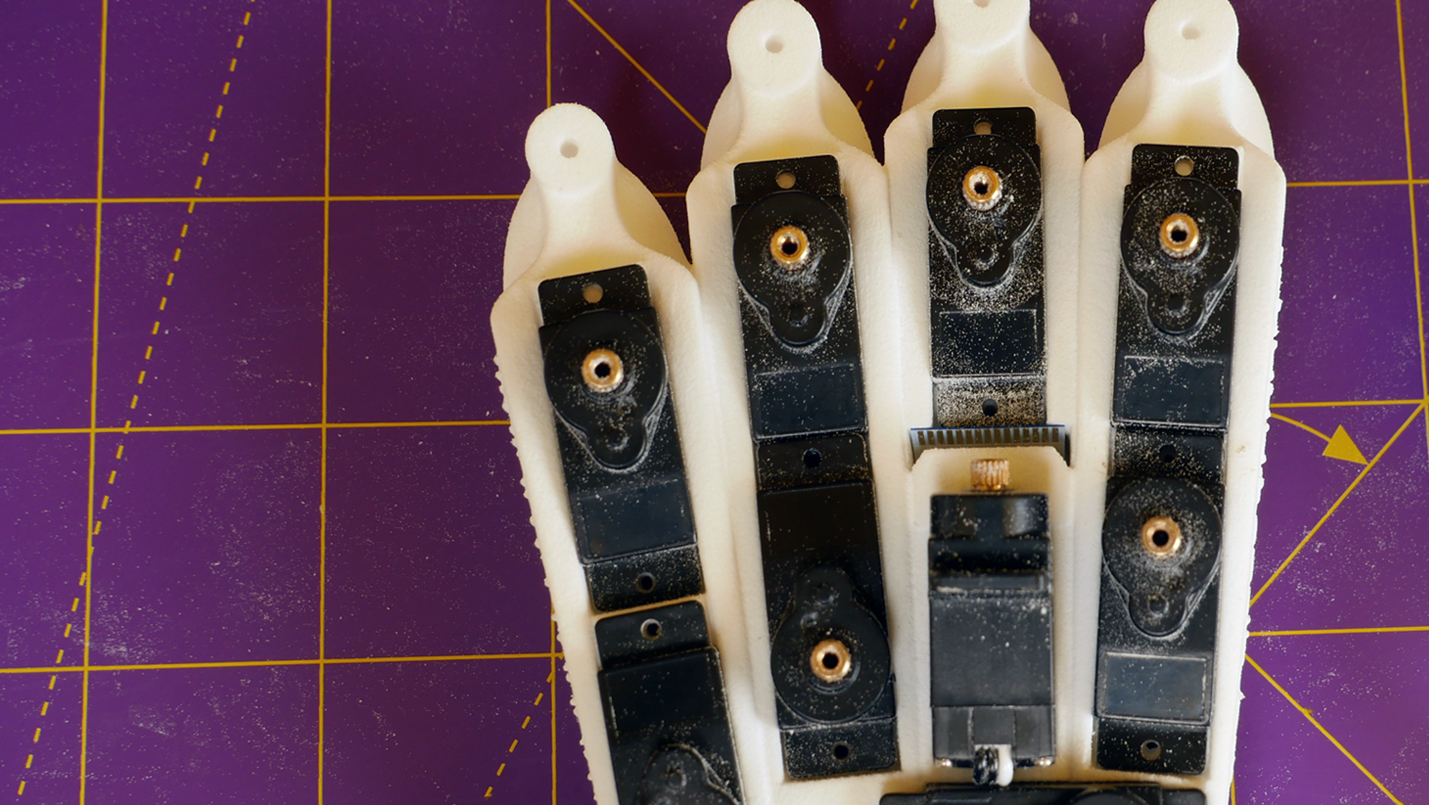
There are 11 DOF (Degrees of Freedom) in total. All the finger servos are housed in the body of the hand itself with an additional larger servo mounted below the wrist to provide pitch (back and forth) rotation of the whole hand.
Each digit is closed by a single tendon that runs the full length of the finger. This improves grip strength and stiffness by sharing the load over the full length of the finger.
Single finger pinch for small objects, textiles and paper
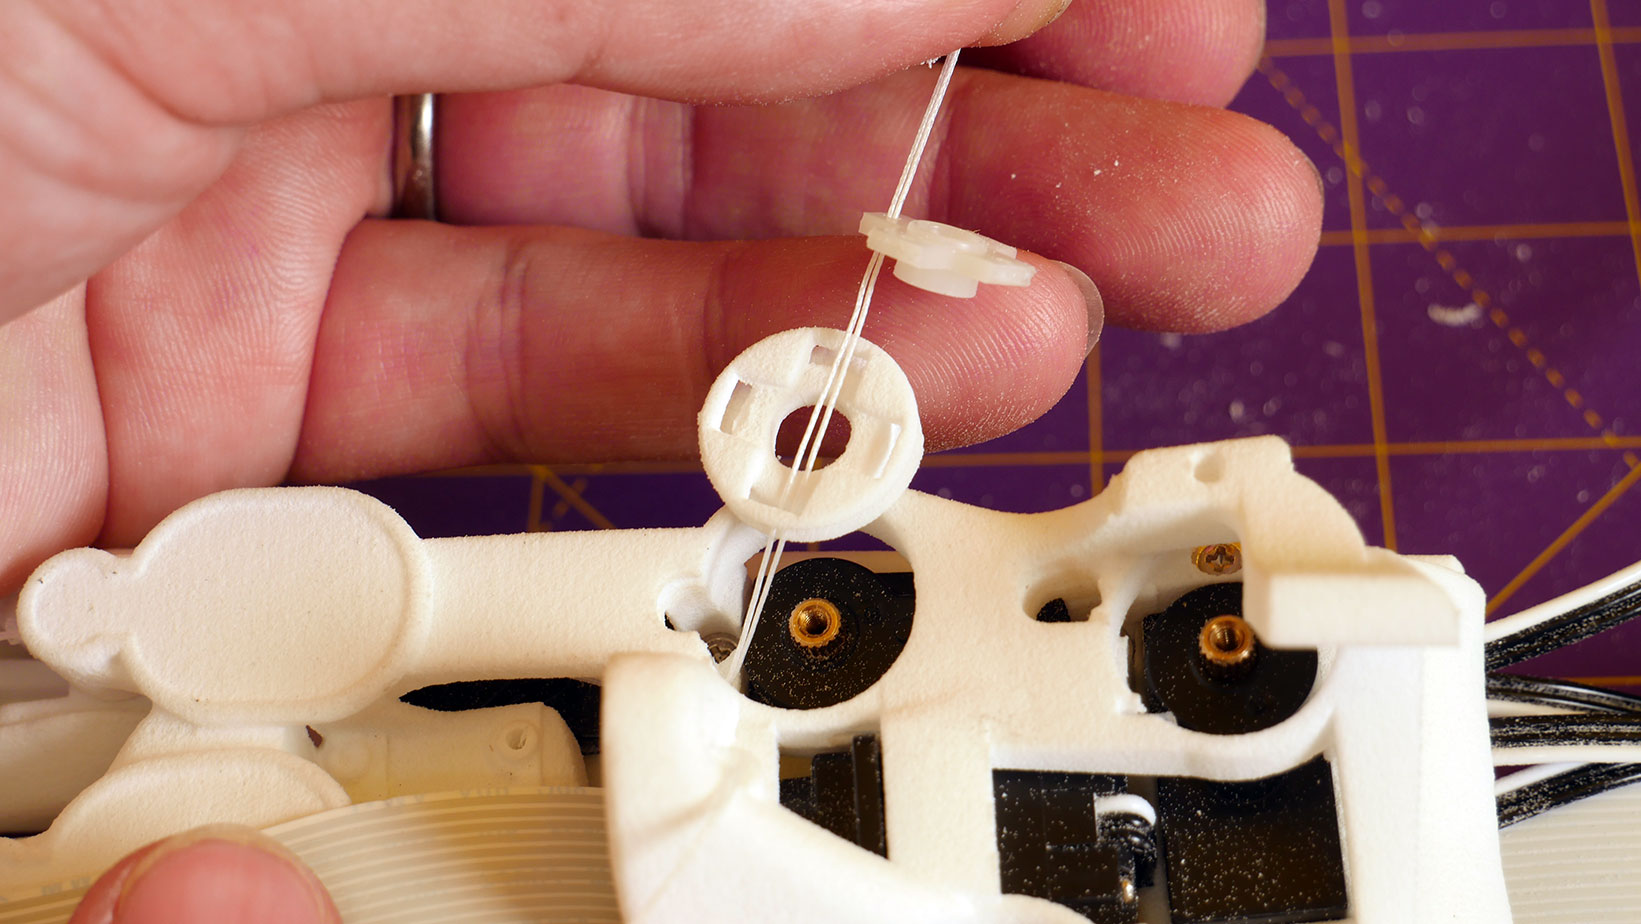
The tendon is contracted by simply winding it on to a 3d printed winch which is driven in turn by a small servo of the kind commonly used in radio controlled (RC) toys.
The specific model used (Feetech SCS009) differs from standard servos as it communicates via a serial bus rather than the legacy 50 Hz PWM (pulse width modulation) signal.
This allows additional operating modes and a greater range of motion better suited to driving tendons (300 vs the standard 170-180 degrees of rotation).
Additionally, these servos return data on their performance and temperature, which is important for the reliability of complex robots.
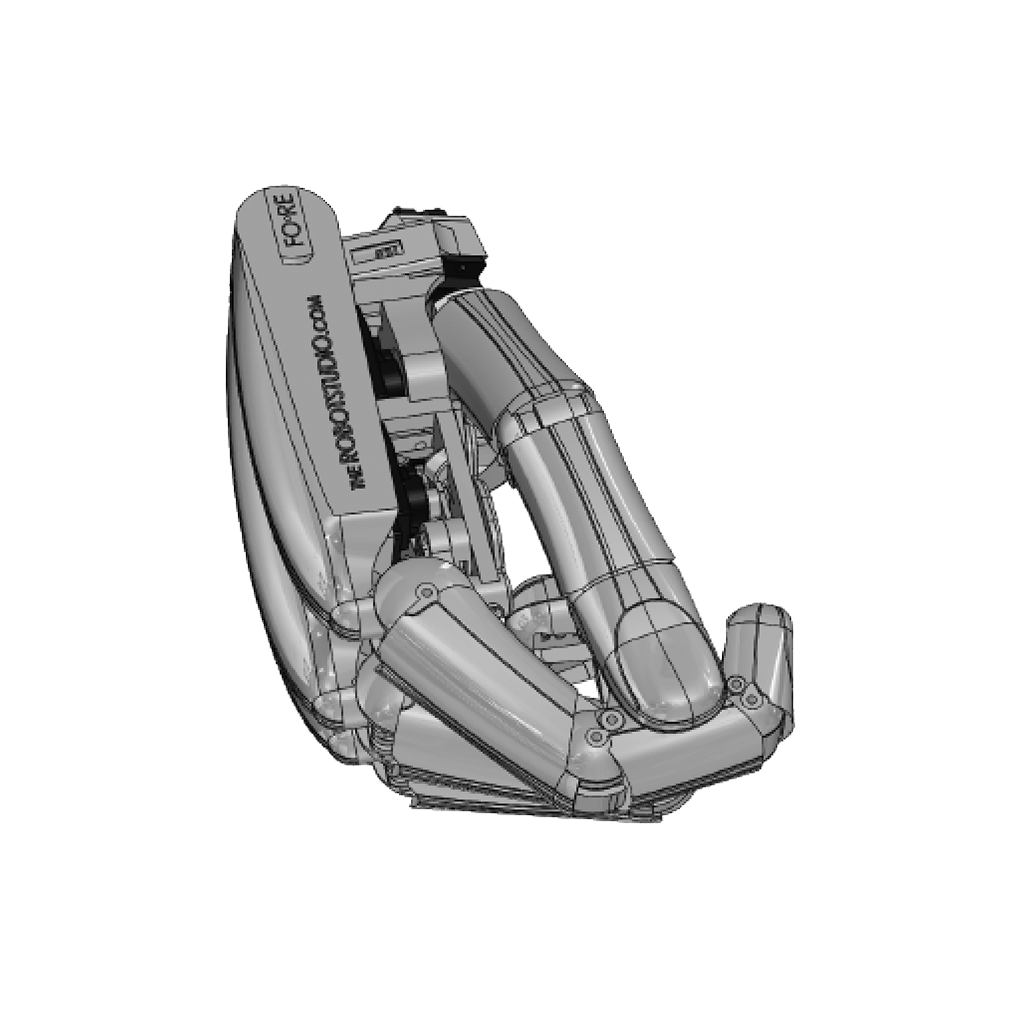
As there is only one powered DOF, the tendon, for the three joints of the finger, the tendon cannot fully control the position of the finger by itself.
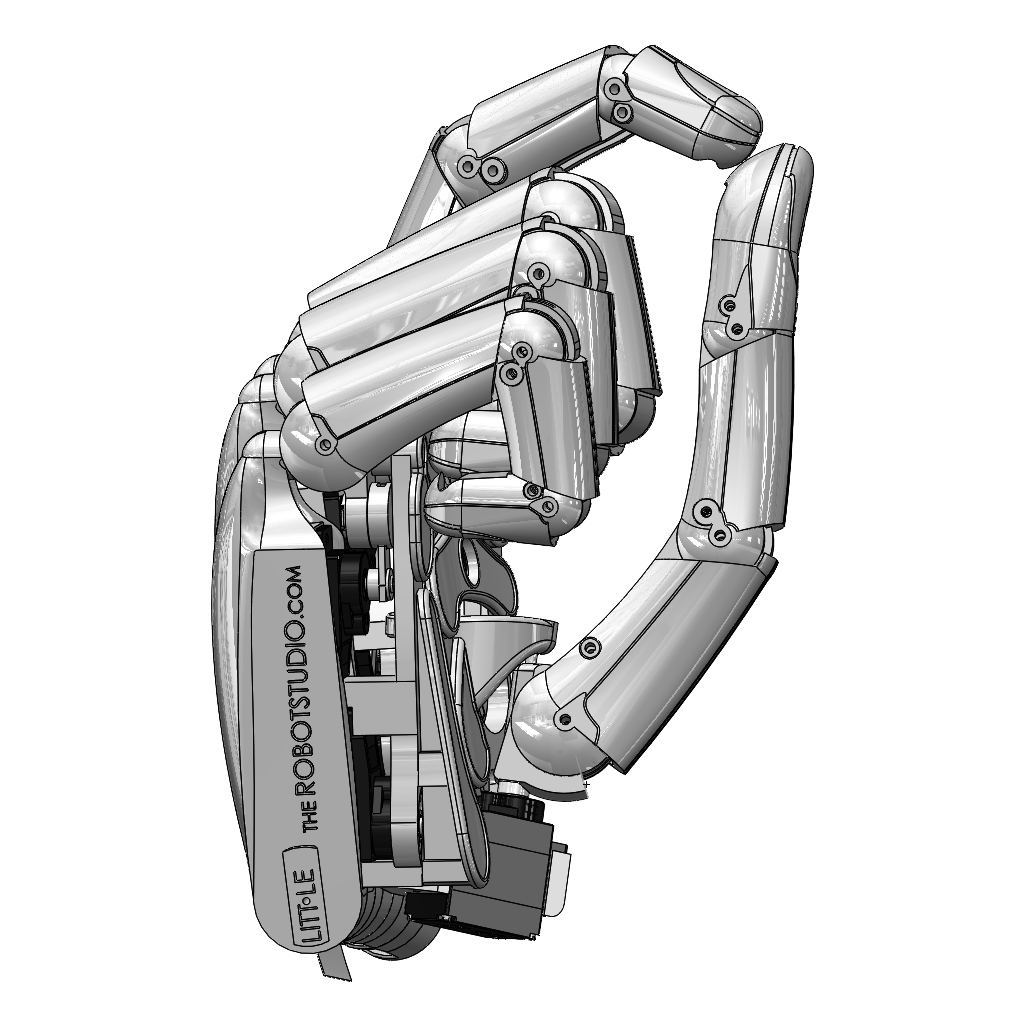
In practice, a finger with just a single tendon can comply to the shape of an object, as in wrapping around a bottle but it can apply very little grip force. Instead of evenly gripping the object, fingers like this tend instead to curl up to the smallest possible shape suddenly ejecting the object!
To avoid the additional cost and complexity of adding more tendons and motors it is necessary to add a mechanism to the fingers that links the relative rotations of the finger sections. For this hand one of the simplest mechanisms was selected – two additional linkages that run down the middle of each finger (see Build Step 2).
The disadvantage is that the tip of the finger is constrained to move through a single arc which limits dexterity and the range of sizes that can be firmly grasped.
By carefully choosing the linkages and their pivot points however, it is possible to arrange the fingers so that they can perform a variety of pinchs and grips.
The range of sizes that the hand can fully grasp can also be improved by making the linkages somewhat flexible.
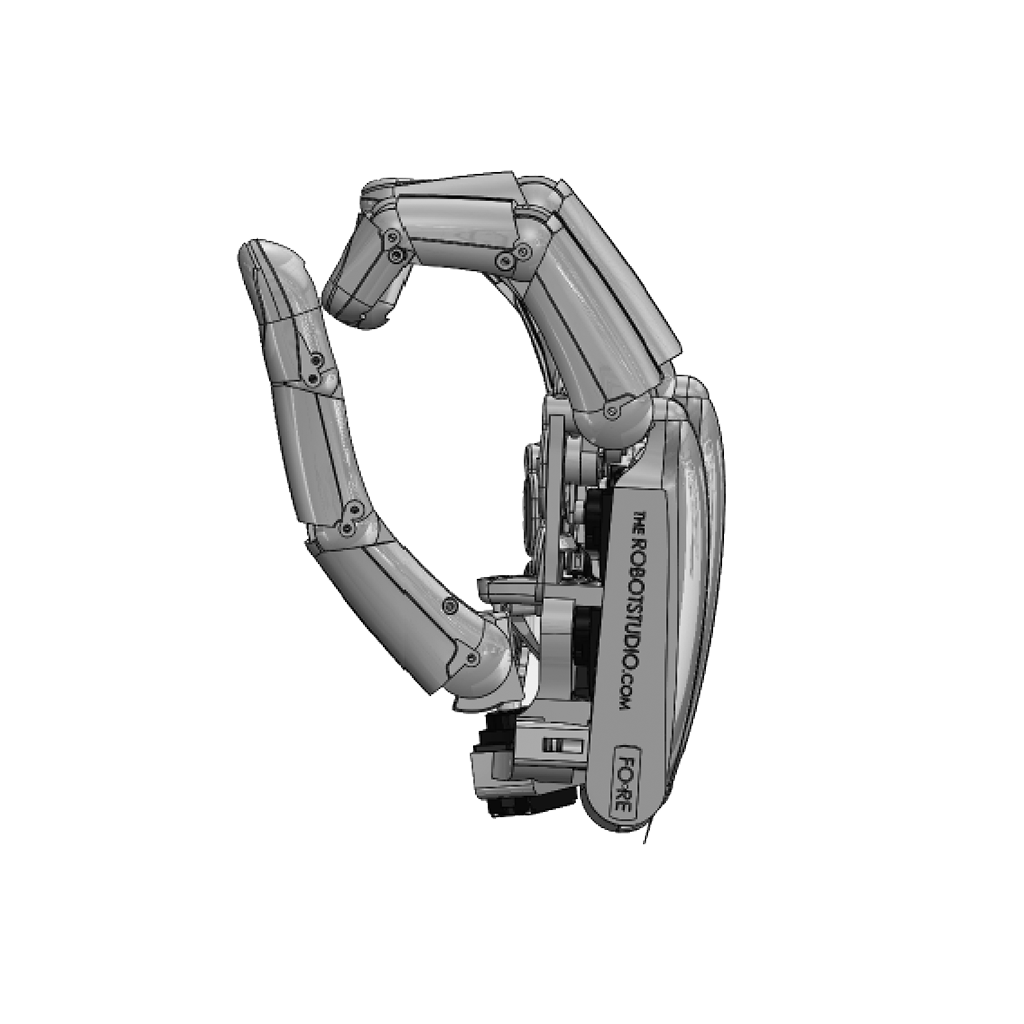
Spherical grip for rounded objects
Key grip, also useful for credit cards
Barrel grip for bottles and other cylindrical objects
Two finger pinch for slightly heavier objects and materials
The fingers are extended passively by an elastic band housed in the knuckle section. This is not as strong as a powered extension but is far simpler and also allows the finger to make fast flicking type actions when released by the thumb or when the hand is rotated at the wrist.
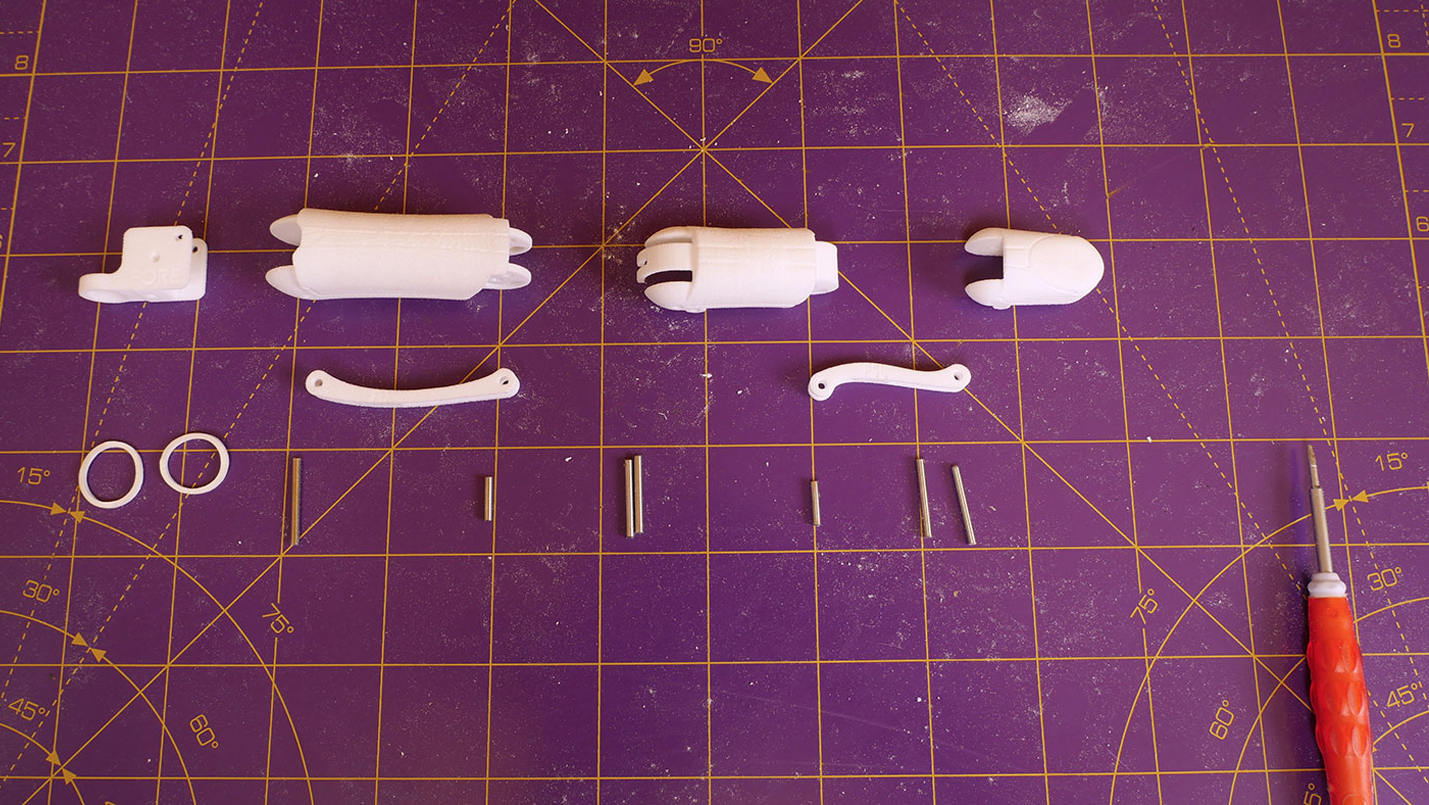
The finger sections are held together by pins which for a quick test can even be made from printer filament. For greater performance and reliability ground steel pins are recommended as these provide a precise yet low cost bearing surface and can simply be pushed into holes in the plastic finger sections.
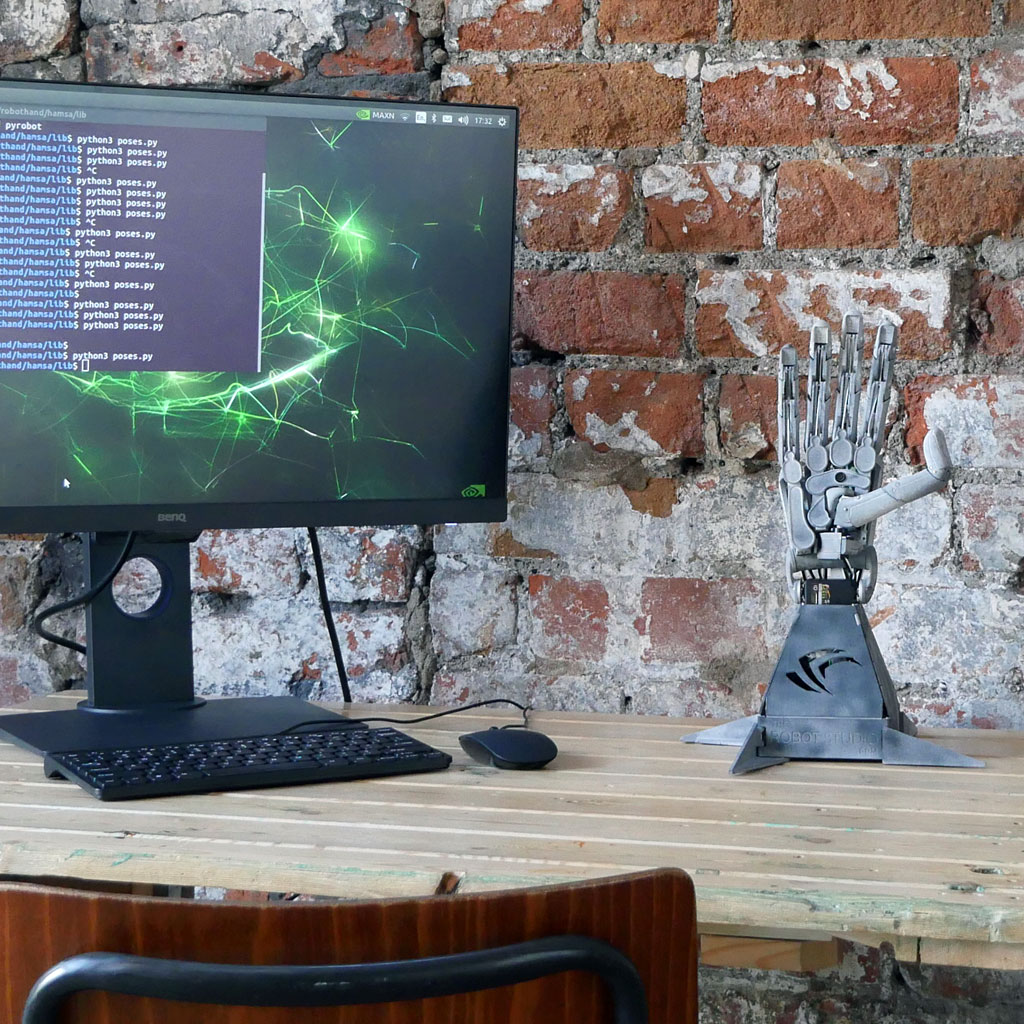
The hand is mounted on a base with fold out supports and a mounting area for the Jetson nano development board.
components
component breakdown
The overall material cost of building the Robot Nano Hand will vary depending on if you choose to print the hand components yourself and also source all components. We recommend budgeting around €400-600
To make life easier Silicon Highway sells a competitively priced kit of all the required parts and servos here: (Click here)
The easiest way to get the prints is to order them online at i.materialise.com: (Click here) or print your own (Click here)
A complete list of parts is given on the home page and as a pdf here: (Click here)
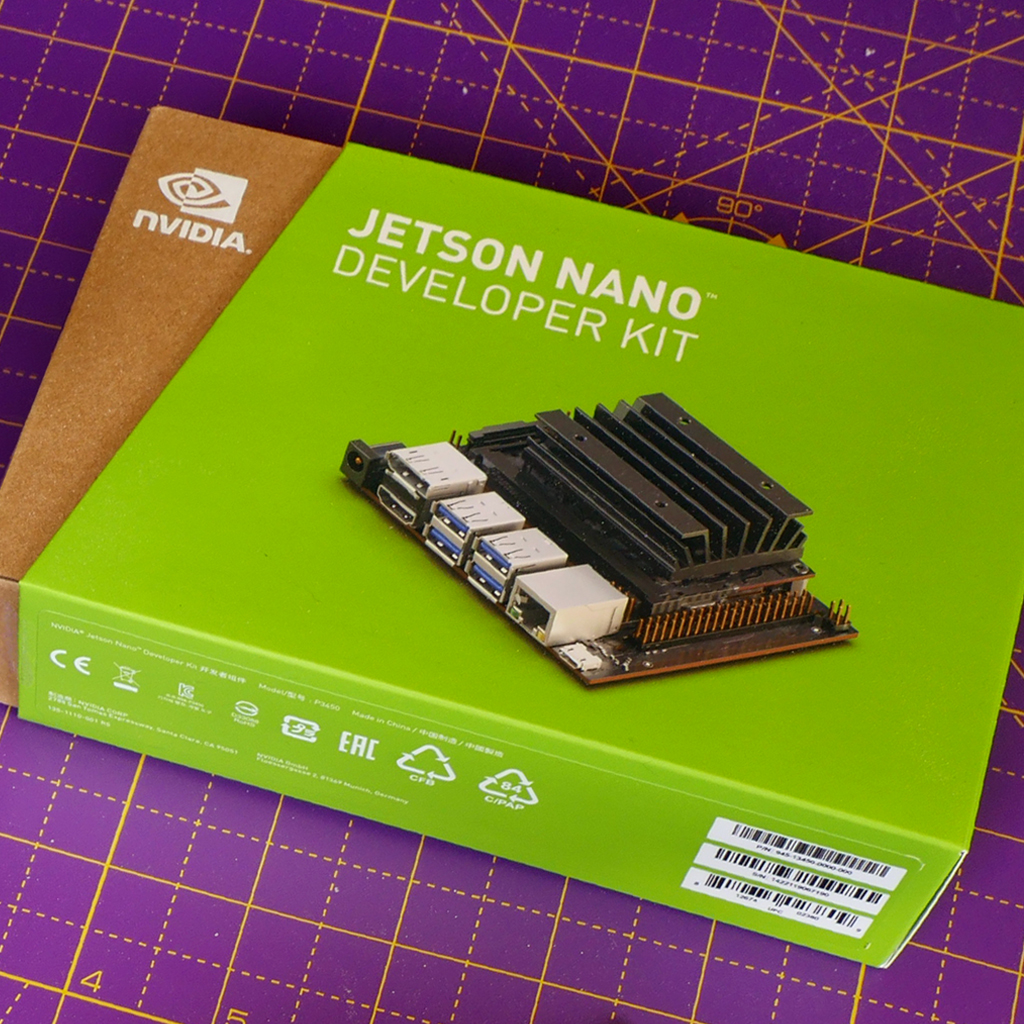
POWERED BY THE NVIDIA JETSON NANO 4GB DEVELOPER KIT – 945-13450-0000-100
A robot is more than just mechanics though and to bring it to life requires control!
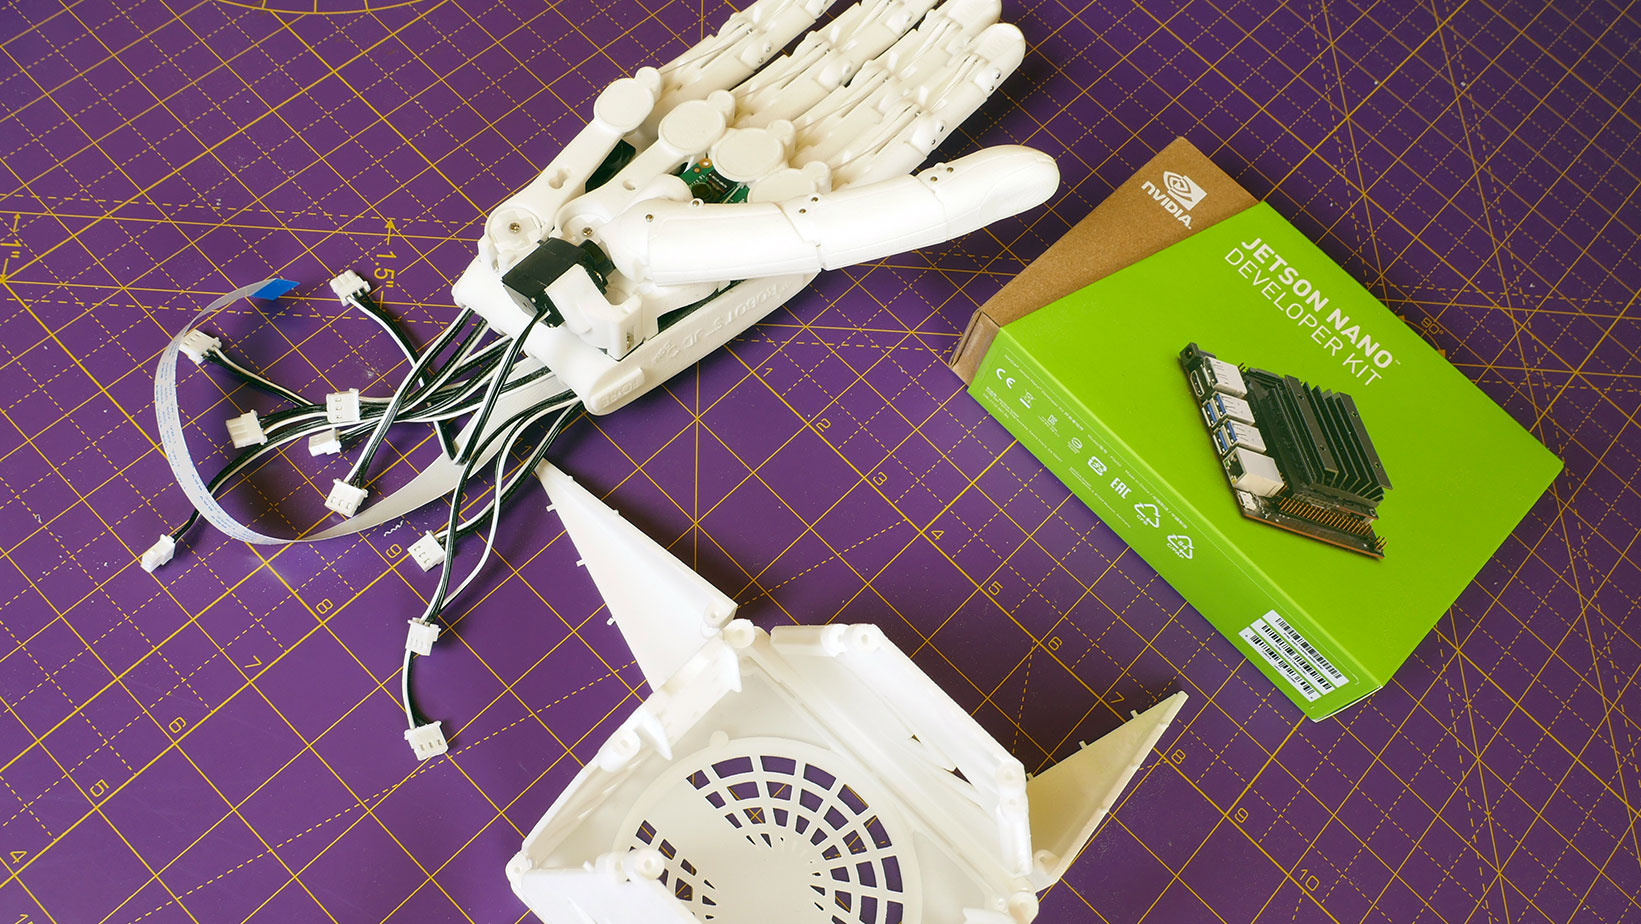
The robotnanohand is powered by the NVIDIA Jetson Nano Development kit, an entry level board that supports the latest developments in neural networks for AI applications like image classification, object detection, segmentation, and speech processing.
The NVIDIA Jetson Nano Developer Kit is a small, powerful computer that runs on as little as 5 watts and is an ideal starting point for a journey into applying AI at the edge.
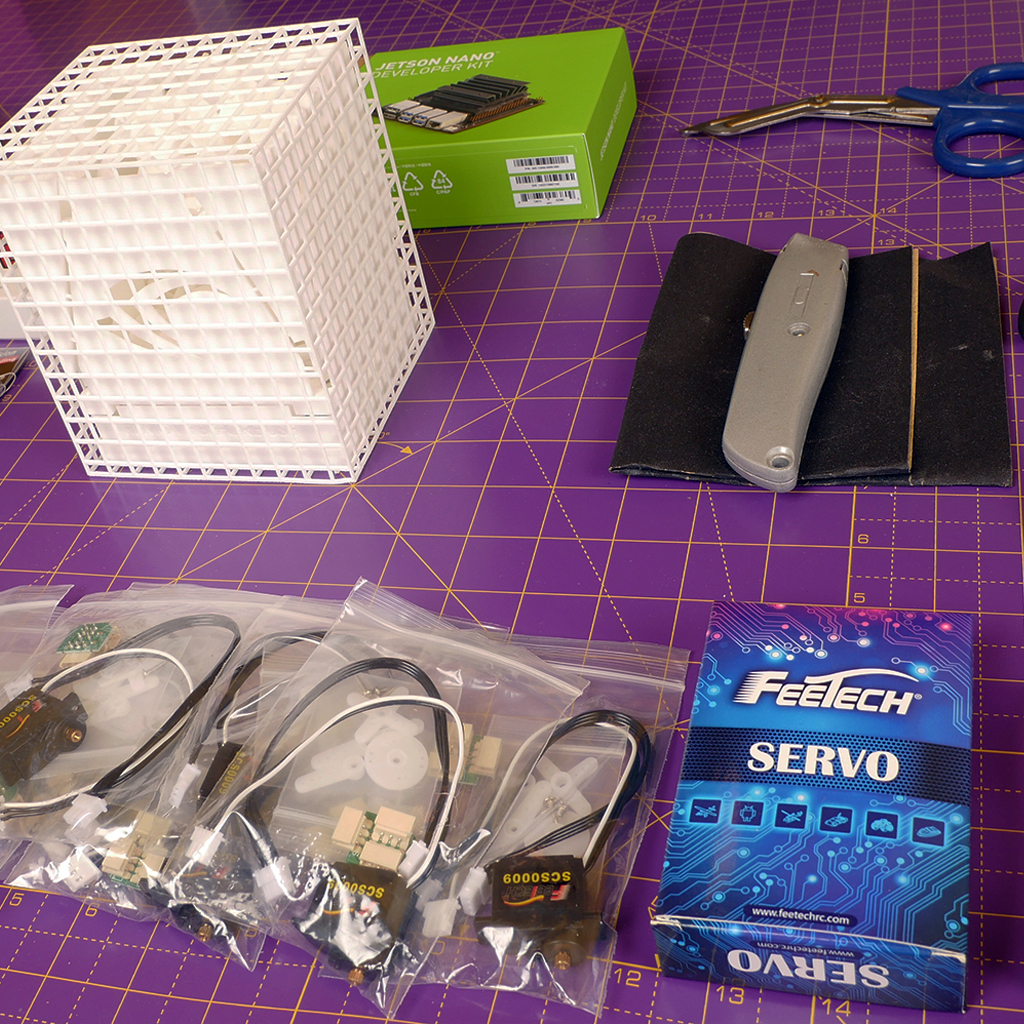
A Full list of components that are required to complete one hand build are listed below:
1 x NVIDIA Jetson Nano 4GB development kit
The NVIDIA Jetson Nano Developer Kit delivers the compute performance to run modern AI workloads at unprecedented size, power, and cost.
1 x fully 3D printed hand
Either 3rd party printed or printed by yourself.
2mm ground steel pins
Five different lengths: 58 pins in total
Pin Length/mm
Total needed
10
11
16-18
16
20
10
24
21
Tendons, guides and elastics
Tendons close the fingers, elastic bands open the fingers and guides make everything run smoother for longer. Ideally use the items recommended below but substitute as needed. For example by using any braided kite or fishing line of roughly the right diameter you already have to hand.
Sufix 832 SuperBraid
5m - White 80lbs breaking strain
Elastic bands
Around 15mm diameter when unstretched and no more than 3mm wide in latex or polyurethane - sold as hair bands for humans and horses!
PTFE tube
30cm x PTFE tubing AWG 18s 2mm OD, 1mm ID
1 x fully 3D printed hand
All the parts printed online or by yourself - or get started as soon as you have enough to make a finger!
SCS0009 Micro Servo
10 X SCS0009 - Fingers and thumb
FE-URT-1 BOARD
USB board for reprogramming the servos (Feetech)
Servos
All servos used have been sourced from a company called feetech.
SCS15 SERVO
1 x SCS15 SERVO
Micro USB cable
1x Micro USB cable
Cameras
One camera is located with in the palm of the robotic hand.
Raspbery PI V2 Camera
1x Raspbery PI V2 Camera
Camera cable
1 x 30cm Raspberry PI V2 camera cable - the standard cable supplied with the camera is not long enough
Power Supplies
Two power suppliers are needed to operate the hand correctly. One to power the NVIDIA jetson Nano development kit and other to power the servos.
5V 4A Universal Power Supply
1x 5V 4A Universal Power Supply for NVIDIA Jetson Nano development kit.
2.5mm Barrel jack
1x Barrel jack with flying leads for URT board, connects to UPS above
6v 3A Universal Power Supply
1 x 6v 3A minimum Universal Power Supply for the servos - or use the same as for the nano with slightly slower servo movments
Jumper
1 x Jumper - To enable power jack on development kit.
We recommend the tools listed below to use with the build, the first column items are essential, the second make life easier
Fine engineers file, nail file or fine grit sandpaper (300 grit or finer)
Craft knife or scissors
Marker pen or pencil
Set of standard precision screwdrivers – or just one #0 Philips and a flat blade under 2mm in width
2mm drill
An electric power drill is very handy but any method to turn the drills will suffice
Long or needle nosed pliers
Tweezers
Buying options:
Silicon Highway has put together a robot nano hand kit, which contains all of the above components to help make sourcing all the parts, a little easier.
Please note: Due to contriants on development boards, we have a dedicated number of developments boards available when purchasing a robot hand kit. Please see link below.
There are two options to print the hand components, you can either print them youself by downloading the files from our Thingiverse page or for those without a 3D printer, the easiest, cheapest and quickest method to obtain the 3d prints is to order them online.
This also allows the use of SLS (Selective Laser Sintering) or other advanced printing technologies. Typically these produce higher quality prints and for one or two hands will work out cheaper than home printing.
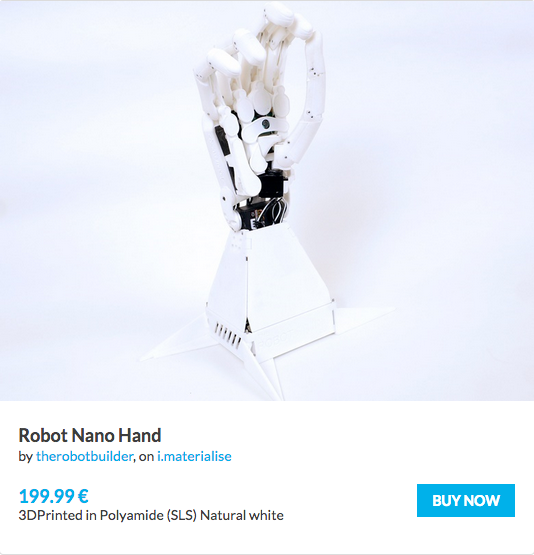
The complete set of prints for the Robot Nano Hand – an introduction to the world of robotics designed by The Robot Studio and powered by NVIDIA Jetson AI. Comes self-contained in an attractive box that transforms into the support for the assembled hand.
Available in Polyamide (SLS) in a wide range of colours – the perfect gift for yourself or anyone interested in advanced robotics at an introductory price of just €199.99!
Please be advised: Due to the technical nature of this product some light finishing is required prior to assembly.
To minimise this we recommend using the standard delivery option and to add “Please print upright with the bottom face parallel to the print bed. Thank you!” in the remarks when ordering as explained here:
For those with experience of 3d printing the design has been succesfully produced in PLA, ABS and PETG.
For more advanced users the recommended method is to use PETG for the large structural pieces (finger sections and back of hand) and ABS for the finer inner pieces (linkages and pivots) but please do experiment and let us know how you get on!
For further information on the parts that need to be printed and to download the 3d print files
Once you have sourced all of components and have enough 3d parts printed, it’s time to start assembling!
For a quick start try a finger held together with 1.75mm printing filament – so long as you have some string and a rubber band lying around the place it’s possible to have a finger printed and assembled within just a few hours!
We have broken down the build into a seven steps, with the aim to provide as much clear guidance and information as possible by video, photos and text. Even so, this is a fairly complex assembly process, please ensure to read all of the provided information below each video present on all of individual step pages.
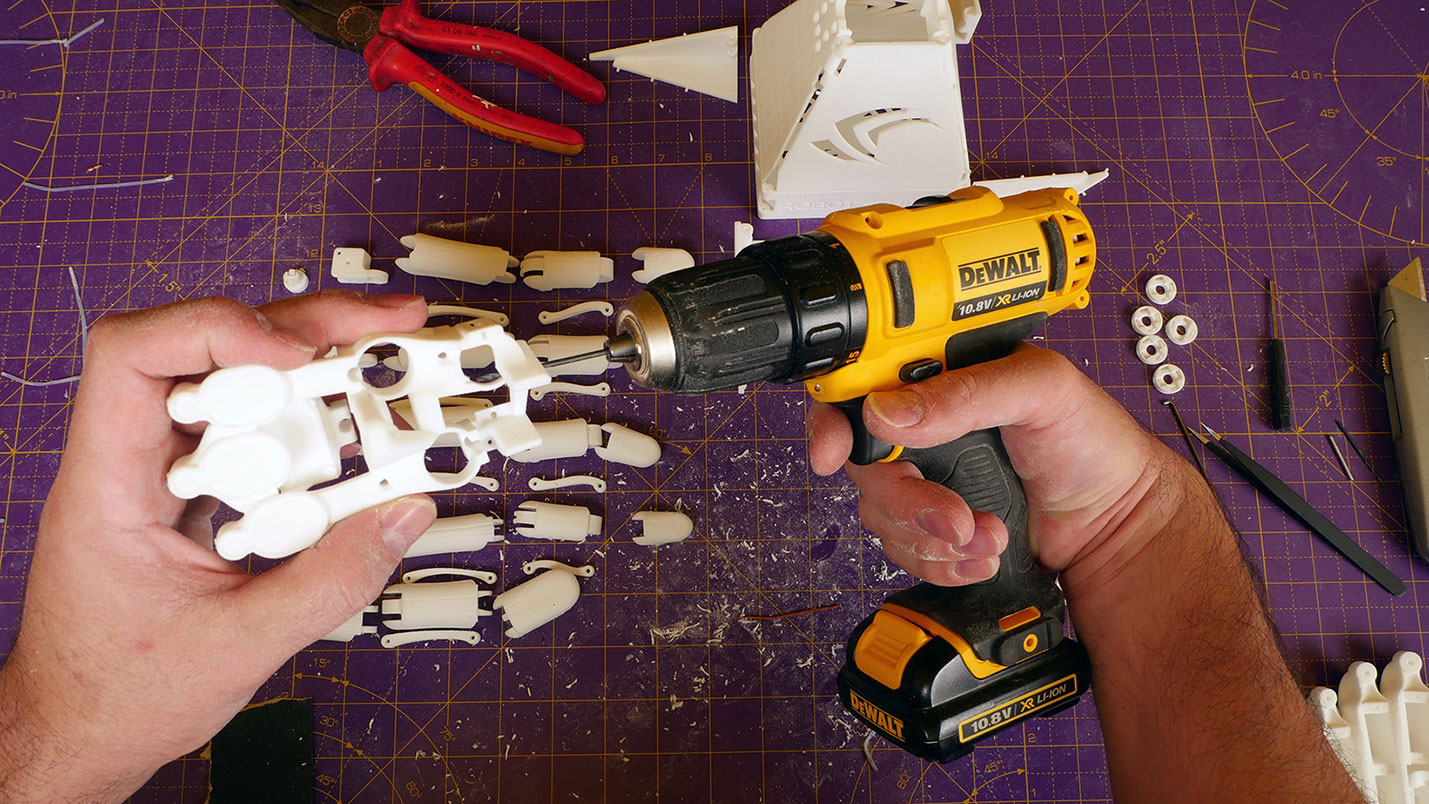
Step 1: PREPARING / CLEANING 3D PRINT COMPONENTS
Step 1: How to prepare the parts to ensure smooth assembly and movements in the finished hand – well worth taking the time to do this properly, it’s quicker in the end!
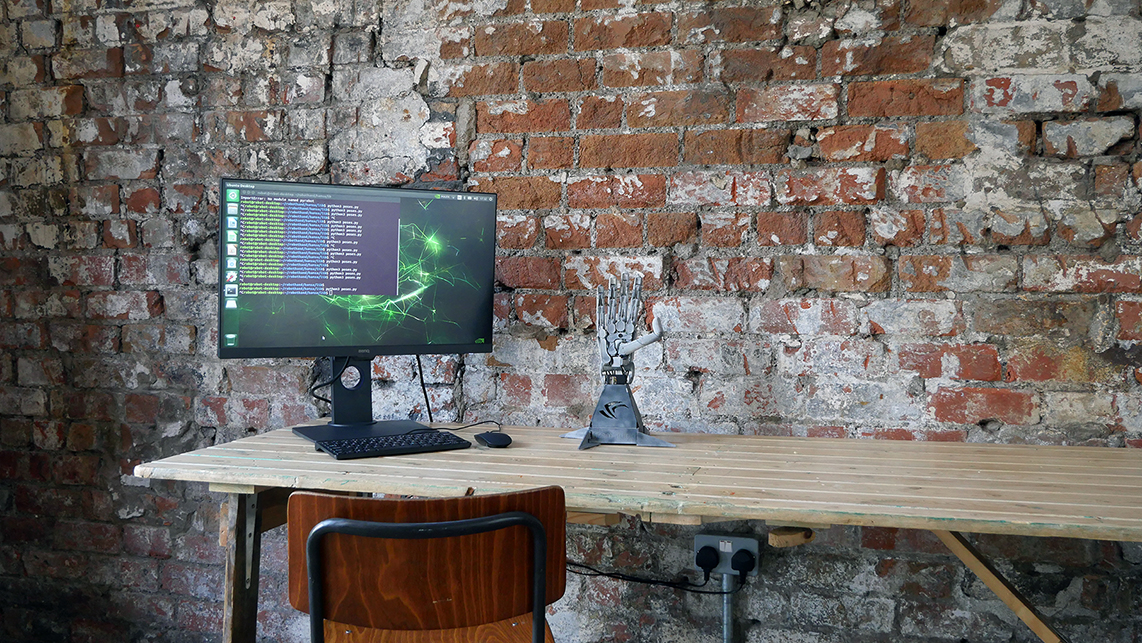
Now that you have fully constructed your robot hand, it’s time to give it some brains!
CodeThink have put together a comprehensive guide of what to install and how to run a hand gesture recognition demo, utilizing the NVIDIA Jet pack, transfer learning toolkit and hand gesture recognition AI application.
Hamsa is the software written by Codethink and this is required to control a robot hand.
It is designed to run on linux.
The software consists of a cpp library (that communicates with the servos over serial) and python bindings for that library.
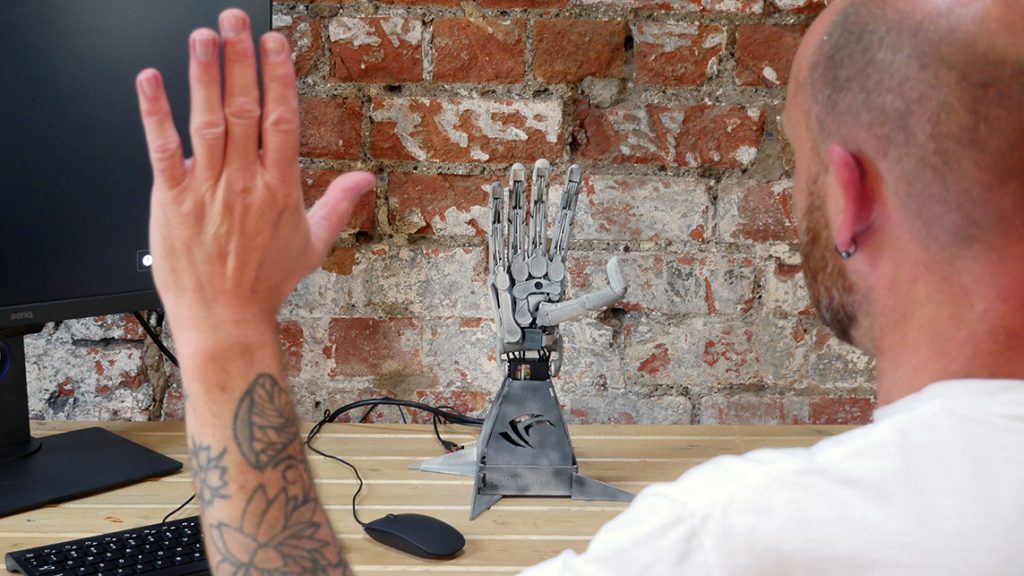
Hamsa also contains a python module for running a mimicking demo, where the robot hand can copy one of five gestures that it sees through the camera:
If you need any advice on a particular part of the build or interested in finding out a little more information on this project, please fill in the form below and we will do our very best to get back to you in a timely manner.
We use cookies on our website to give you the most relevant experience by remembering your preferences and repeat visits. By clicking “Accept All”, you consent to the use of ALL the cookies. However, you may visit "Cookie Settings" to provide a controlled consent.
This website uses cookies to improve your experience while you navigate through the website. Out of these, the cookies that are categorized as necessary are stored on your browser as they are essential for the working of basic functionalities of the website. We also use third-party cookies that help us analyze and understand how you use this website. These cookies will be stored in your browser only with your consent. You also have the option to opt-out of these cookies. But opting out of some of these cookies may affect your browsing experience.
Necessary cookies are absolutely essential for the website to function properly. These cookies ensure basic functionalities and security features of the website, anonymously.
Cookie
Duration
Description
cookielawinfo-checkbox-analytics
11 months
This cookie is set by GDPR Cookie Consent plugin. The cookie is used to store the user consent for the cookies in the category "Analytics".
cookielawinfo-checkbox-functional
11 months
The cookie is set by GDPR cookie consent to record the user consent for the cookies in the category "Functional".
cookielawinfo-checkbox-necessary
11 months
This cookie is set by GDPR Cookie Consent plugin. The cookies is used to store the user consent for the cookies in the category "Necessary".
cookielawinfo-checkbox-others
11 months
This cookie is set by GDPR Cookie Consent plugin. The cookie is used to store the user consent for the cookies in the category "Other.
cookielawinfo-checkbox-performance
11 months
This cookie is set by GDPR Cookie Consent plugin. The cookie is used to store the user consent for the cookies in the category "Performance".
viewed_cookie_policy
11 months
The cookie is set by the GDPR Cookie Consent plugin and is used to store whether or not user has consented to the use of cookies. It does not store any personal data.
Functional cookies help to perform certain functionalities like sharing the content of the website on social media platforms, collect feedbacks, and other third-party features.
Performance cookies are used to understand and analyze the key performance indexes of the website which helps in delivering a better user experience for the visitors.
Analytical cookies are used to understand how visitors interact with the website. These cookies help provide information on metrics the number of visitors, bounce rate, traffic source, etc.
Advertisement cookies are used to provide visitors with relevant ads and marketing campaigns. These cookies track visitors across websites and collect information to provide customized ads.